Ever since the circuit breaker measures were put in place, my family and I have pretty much been cooking and eating at home every single day.


(1) 1 medium head napa cabbage
After rinsing the cabbage, cut into cubes of about 4-5 cm.

After soaking, pour away the brine water and rinse the cabbage under tap water for a few times. Squeeze out any remaining water in the cabbage gently. Transfer the cabbage to a colander/strainer to drain away excess liquid.

Add the garlic, ginger, miso paste, fish sauce, water, gochugaru and white parts of scallions (if you have) into a food processor or ground them using the traditional mortar and pestle.
I transfer the contents from the food processor and grind it further down with mortar because I find that the paste is not smooth enough.

Put all vegetables and the drained cabbage into a large bowl.

Add the spice paste and gently combine everything thoroughly using your hands. Highly recommended to use gloves as it can get (very) messy and to protect your hands from stains.

Pack the kimchi into your jar and press it down to allow the brine (the liquid) to cover the vegetables. It is important to ensure that the kimchi is still submerged. Don't fill the whole jar to the brim - leave about 1-inch space at the top. Cover with the lid but don't screw tight (because fermentation process releases gas and it will cause a build-up in pressure in a tightly sealed container). Place jar on a countertop or anywhere away from the direct sunlight.
Put them in a bowl/plate to collect any overflow.
For now, annyeong!
Check back every Sunday for new content
3 meals a day, 3 X 7 days = 21 meals a week.
Whipping up meals continuously got us bored with eating the same style of food every day.
So the key is to have variety and the easiest way is to try different cuisines from various countries. Since it is the weekend and I had the time, I decided to make my own Kimchi from scratch and so we can have some KOREAN food haha
" Kimchi is a trademark of Korean food. It is basically salted and fermented vegetables made by the process lacto-fermentation (i.e. lactic acid fermentation). This fermentation method made use of beneficial bacteria (Lactobacillus) to preserve the vegetables. In other words, Kimchi is living! It is full of healthy bacteria and aids in digestion.
The process of lacto-fermentation works because of the fact that harmful bacteria are not able to tolerate and survive in high salt, while healthy bacteria like Lactobacillus can. "
In the first stage, the vegetables are soaked in a brine that is so salty that harmful bacteria will be killed but Lactobacillus will survive and begin stage two.
In the second stage, the Lactobacillus converts sugars in the food into lactic acid, thereby creating an acidic environment that preserves the vegetables safely.
There are probably hundreds and thousands of Kimchi recipe out there and you could be confused on which should you follow. Good news is that there are no hard and fast rules on how it should be made. This means that you can totally come out with your very own version of Kimchi tailored to your tasting.
Kimchi recipe (김치)
What: Korean Kimchi
Suitable for: Anyone who loves Korean food!
Yield: 2 glass jars (900mL each)
Ingredients needed:
(1) 1 medium head napa cabbage
(2) 2 bunches Green onions/scallions/leek
(3) 1 large Daikon radish
(4) 1 large carrot
(5) 7 cloves garlic
(6) 4-6 inches ginger, peeled
(7) 1/2 cup Kosher salt
Spice paste:
Spice paste:
(8) 2 tablespoon fish sauce/ vegan fish sauce or soy sauce
(9) 2 tablespoon miso paste
(10) 3 tablespoon water
(11) 1-5 tablespoon Korean Red Pepper Flakes (gochugaru)
*All ingredients are readily available in most leading supermarkets/online!*
Equipment needed:
1. Cutting board and knife
2. Gloves (optional)
3. 2 Large bowls/pots
4. Colander
5. Clean glass jar with lid
Video:
To be uploaded soon!
Directions:
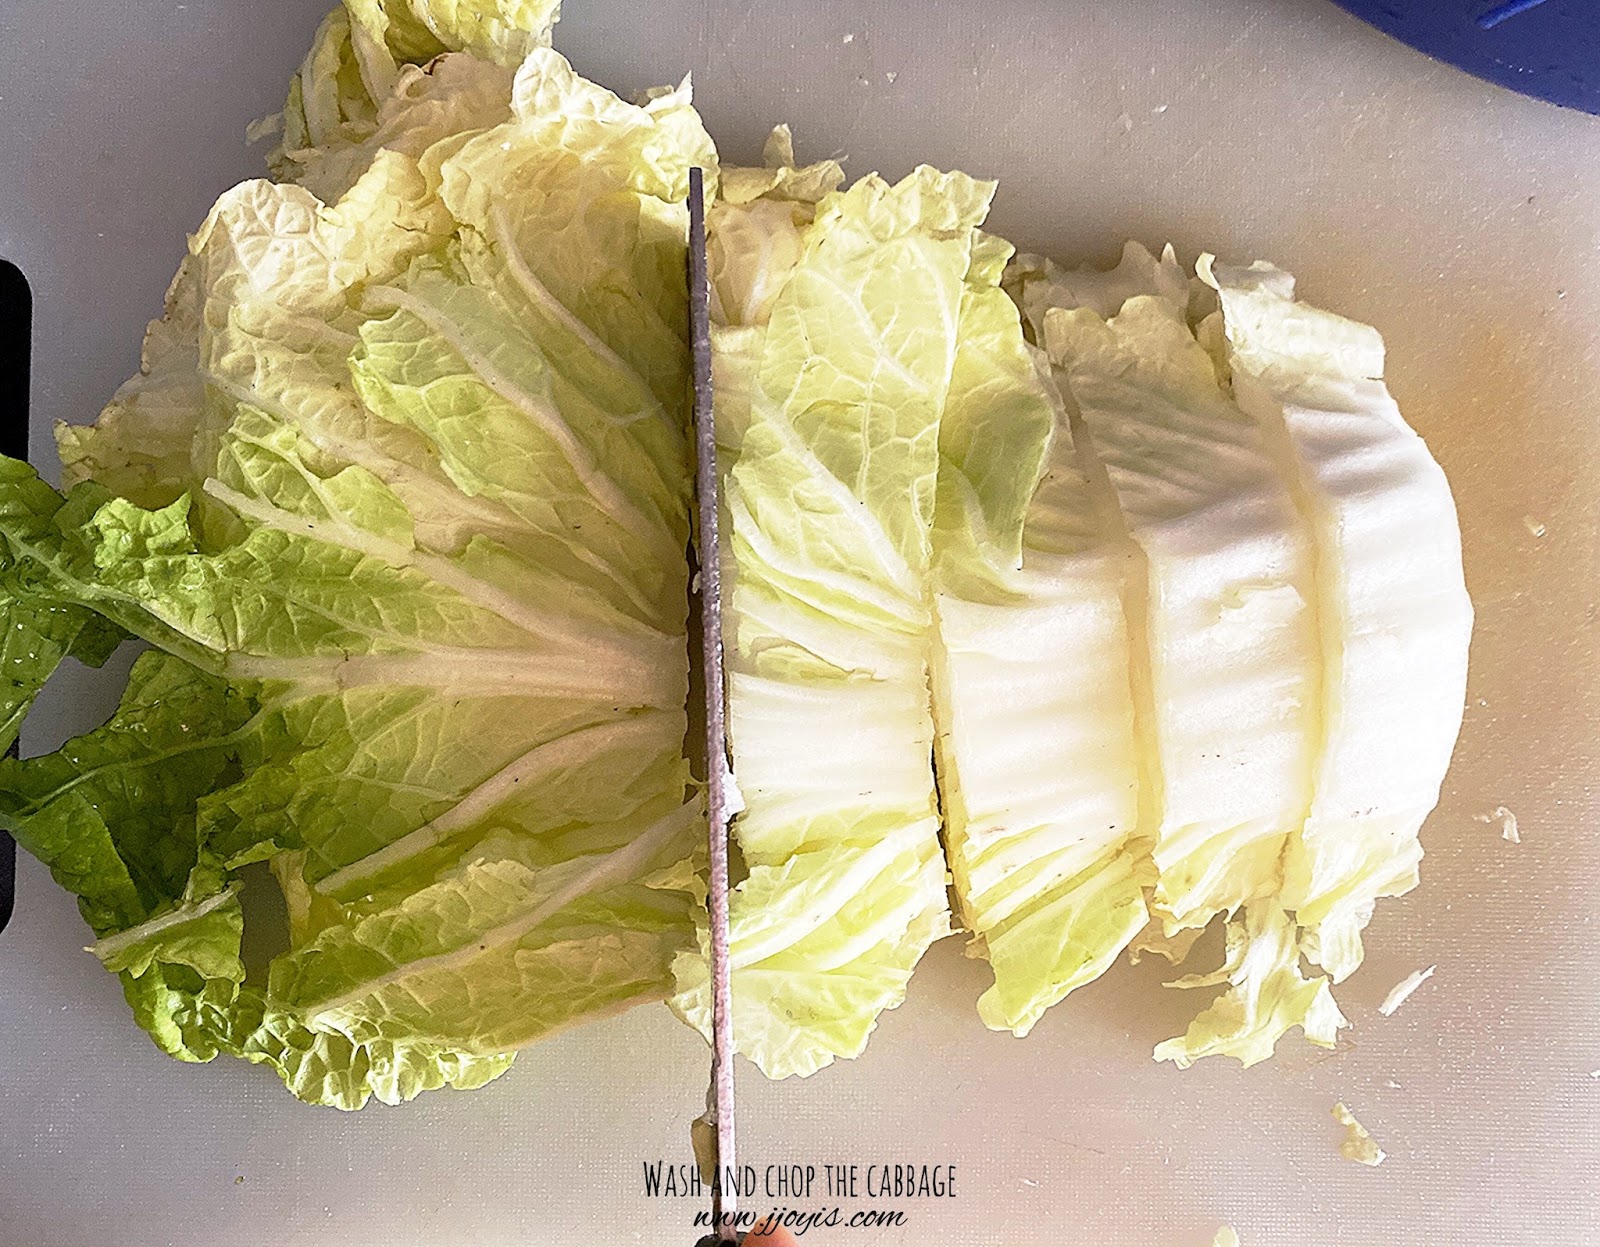
Step 1: Wash and cut the cabbage.
After rinsing the cabbage, cut into cubes of about 4-5 cm.
Step 2: Salt cabbage.
Put the cut cabbage into a large bowl and add the Kosher salt.

Massage the salt into the cabbage using your hands until it starts to soften and become springy like. Use less salt if you are using fine salt.

Add water to cover the cabbage and put a cover with something heavy on top to keep the cabbage submerged. I used whatever I can find around in my house (a plate and bowl). Soak for 4-8 hours.
Massage the salt into the cabbage using your hands until it starts to soften and become springy like. Use less salt if you are using fine salt.
Add water to cover the cabbage and put a cover with something heavy on top to keep the cabbage submerged. I used whatever I can find around in my house (a plate and bowl). Soak for 4-8 hours.
Step 3: Wash and cut all other vegetables.
Prepare the vegetables while soaking the cabbage. Remove the skin of the carrots and the daikon radish.

Cut into matchsticks size (about 6-8 cm long). I prefer my carrots to be thinner and shorter compared to the daikon radish as it tends to be harder.

If you are using scallions, separate the white and green parts of the scallions.

Add the white part when making the spice paste. I used leek instead, taste good as well!
Prepare the vegetables while soaking the cabbage. Remove the skin of the carrots and the daikon radish.
Cut into matchsticks size (about 6-8 cm long). I prefer my carrots to be thinner and shorter compared to the daikon radish as it tends to be harder.
If you are using scallions, separate the white and green parts of the scallions.
Add the white part when making the spice paste. I used leek instead, taste good as well!
Step 4: Drain and rinse cabbage.
After soaking, pour away the brine water and rinse the cabbage under tap water for a few times. Squeeze out any remaining water in the cabbage gently. Transfer the cabbage to a colander/strainer to drain away excess liquid.
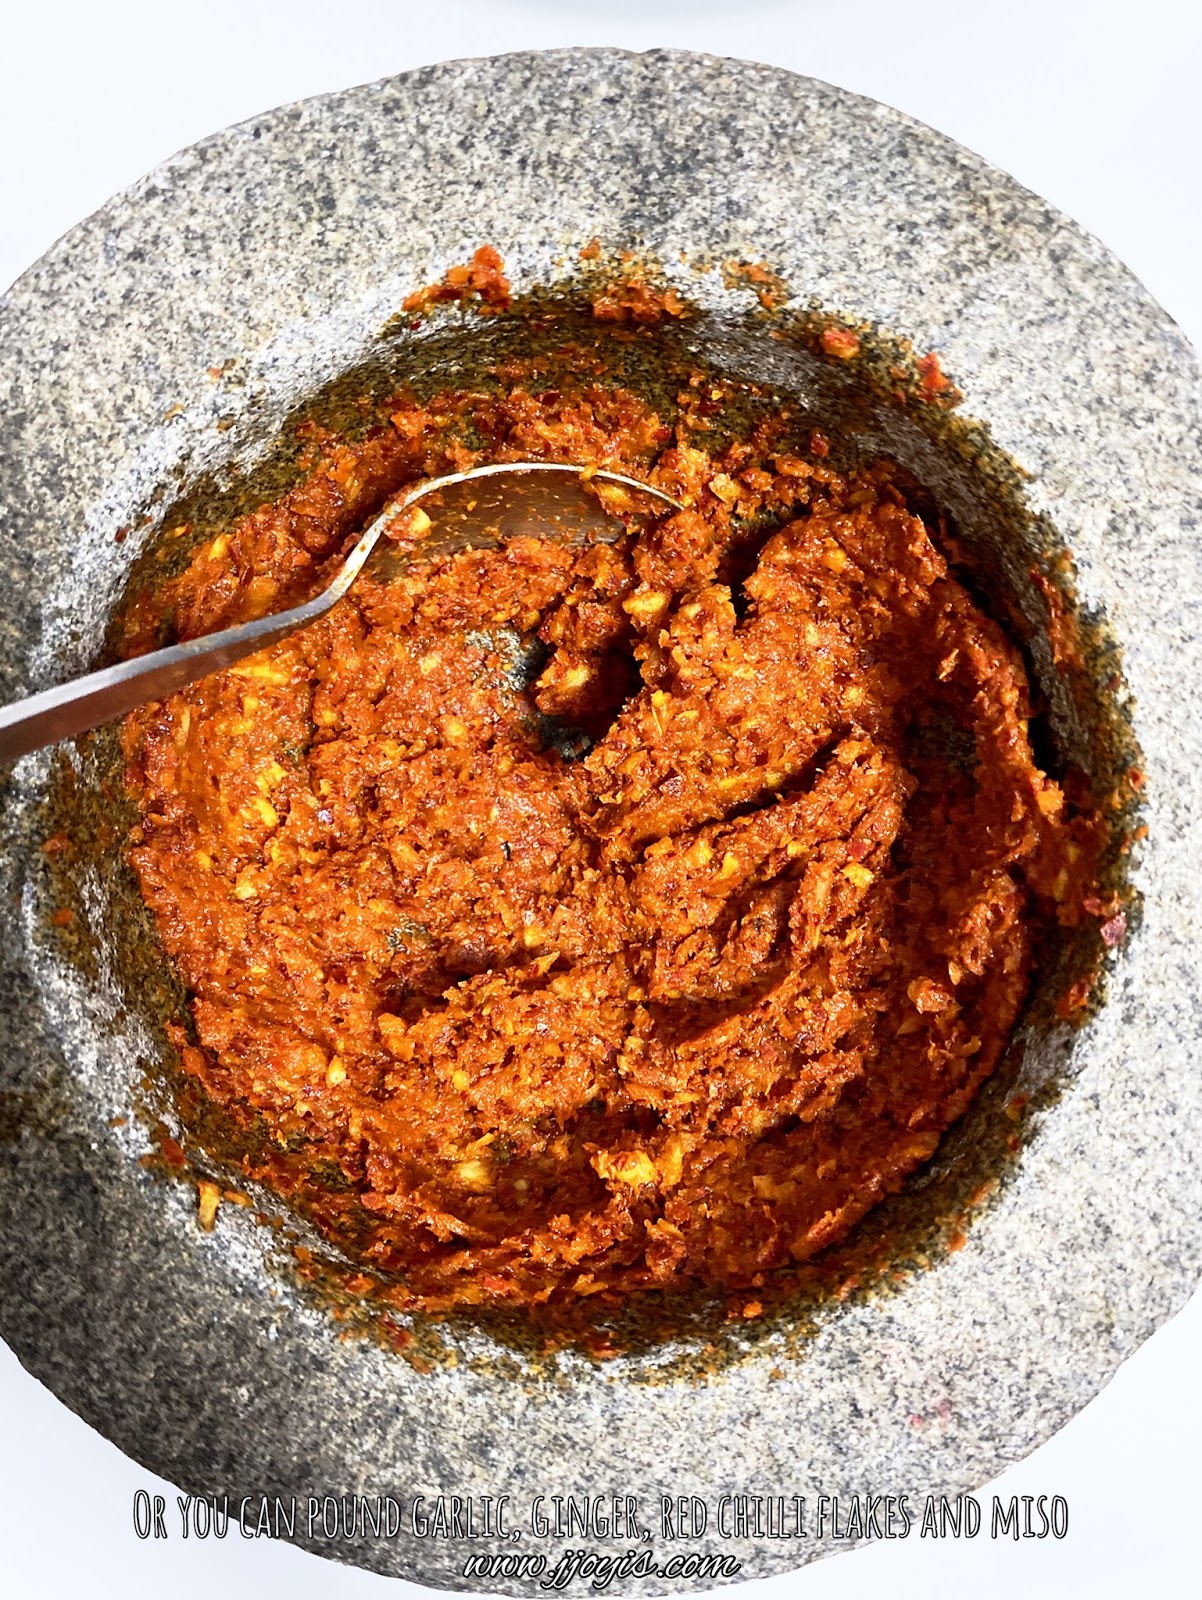
Step 5: Make spice paste.
Add the garlic, ginger, miso paste, fish sauce, water, gochugaru and white parts of scallions (if you have) into a food processor or ground them using the traditional mortar and pestle.
I transfer the contents from the food processor and grind it further down with mortar because I find that the paste is not smooth enough.
*Note: You can choose to omit fish sauce or replace it with vegan fish sauce/soy sauce if you want to make vegan kimchi. I find adding fish sauce gives another dimension to the taste.
*Note: I used about 3.5 tablespoons this round but I like it to be spicier. Use 1 tablespoon for mild spicy and 5 tablespoons for spicy.
*Note: Amount of garlic and ginger to add is just a guide. Don't add as too much as they make the kimchi bitter and can even affect the fermentation process.
Step 6: Mix spice paste and vegetables.
Put all vegetables and the drained cabbage into a large bowl.
Add the spice paste and gently combine everything thoroughly using your hands. Highly recommended to use gloves as it can get (very) messy and to protect your hands from stains.
Step 7: Put kimchi into a jar.
Put them in a bowl/plate to collect any overflow.
*Note: I used a glass jar to keep my kimchi because glass doesn't retain odour or get stained, especially over time. You can also use ceramic jars if you have.
Step 8: Ferment for 1-3 days. Refrigerate.
Using a clean, dry spoon to press down the kimchi once a day to release the gas bubbles and to keep the vegetables submerged in the liquid. Do a taste test. Once it is to your liking, you can move it into the refrigerator. The kimchi will continue to ferment inside the fridge and it will develop more flavour and depth as time passes!
Step 9: Enjoy.
You can eat the kimchi after a day but the longer it gets, the better it is! Now, you can use your homemade kimchi and turn it into many other delicious dishes like kimchi pancake, kimchi fried rice and kimchi soup!
You don't need fancy equipment to make your own kimchi. The toughest part is probably the hours needed to wait for the cabbage to soften. However, it is circuit breaker now and most of us are working at home. Shouldn't be a big problem. Comment/message/email me your thoughts and final product when you tried making your own kimchi!
For now, annyeong!
Check back every Sunday for new content
LIKE our Facebook Page to receive updates | SHARE it with your friends if you find this helpful!
Thank you!


1 Comments
I love kimchi
ReplyDelete